0592-5134531


廈門(mén)臺(tái)貿(mào)機(jī)械設(shè)備有限公司于2008年成立,是一家主要銷(xiāo)售自動(dòng)化機(jī)械設(shè)備部件及物流搬運(yùn)設(shè)備的專(zhuān)業(yè)知名企業(yè)。公司注重科技、注重品牌,與眾多國(guó)內(nèi)、國(guó)際品牌企業(yè)建立了良好的合作關(guān)系。
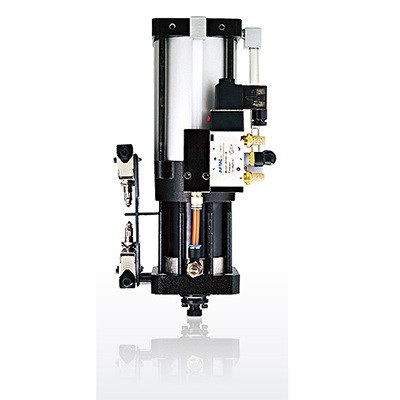
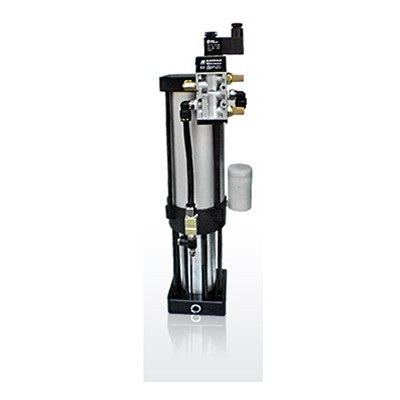
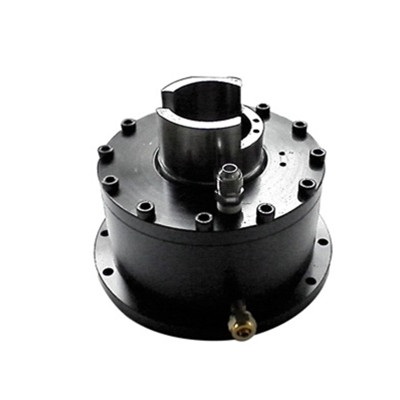
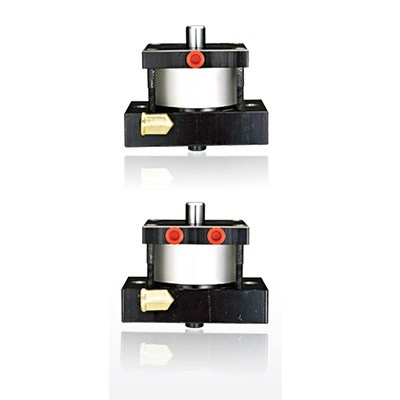
在自動(dòng)化機(jī)械設(shè)備部件領(lǐng)域是臺(tái)灣進(jìn)口豪澄打刀缸授權(quán)的國(guó)內(nèi)總代理,同時(shí)也是臺(tái)灣金器氣動(dòng)元件的一級(jí)代理商。
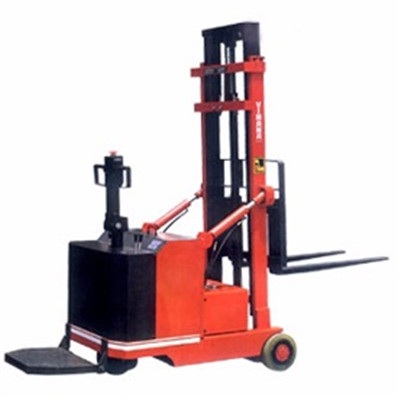
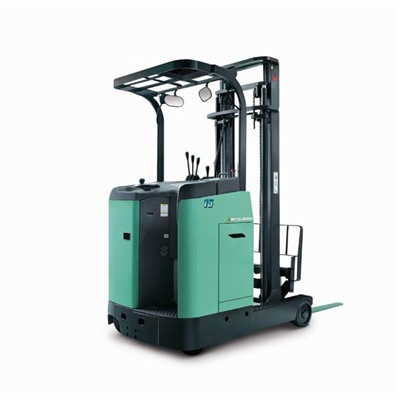
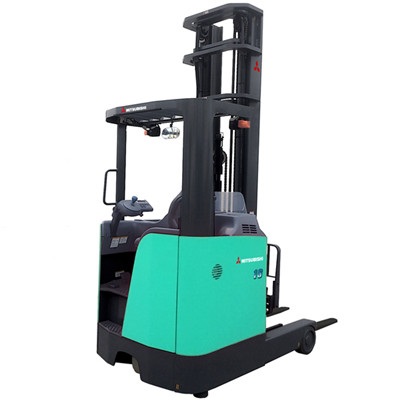
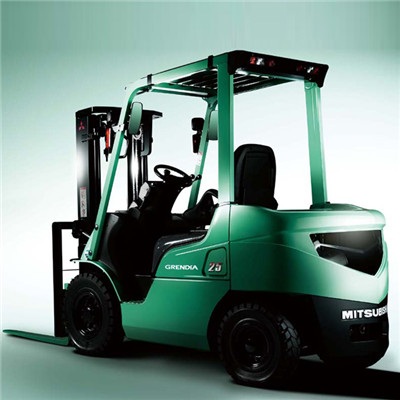
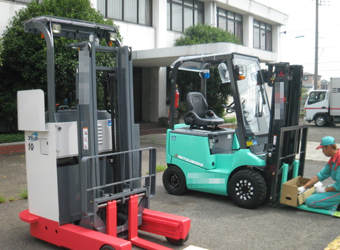
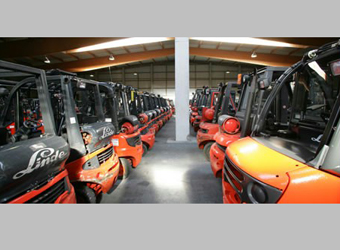
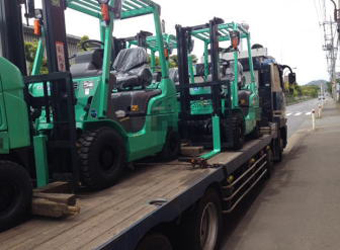
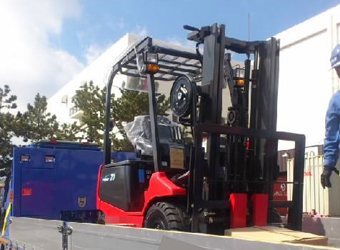
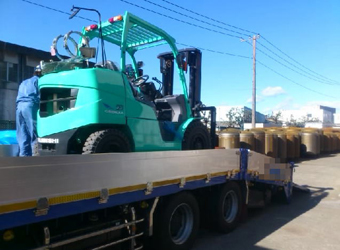
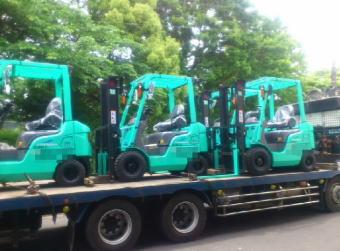
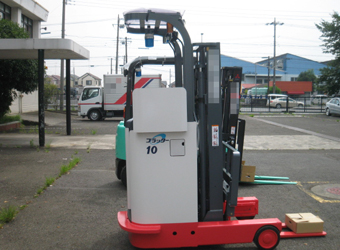
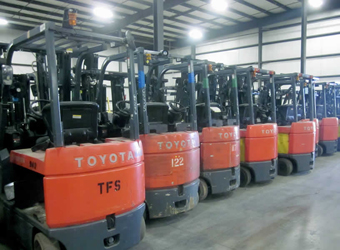
在叉車(chē)領(lǐng)域中我們是專(zhuān)業(yè)從事叉車(chē)銷(xiāo)售、維修、保養(yǎng)、配件批發(fā)為一體的大型企業(yè),是日本力至優(yōu)(NICHIYU)電動(dòng)叉車(chē)、日本三菱柴油叉車(chē)(MITSUBISHI)、臺(tái)灣威馬(VIMANA)電動(dòng)堆高機(jī)中國(guó)總代理。除了廈門(mén)外我們也在福州設(shè)立分公司提供進(jìn)口叉車(chē)零配件及維修保養(yǎng)一條龍服務(wù)。
公司以誠(chéng)實(shí)守信客戶(hù)至上,竭誠(chéng)服務(wù)為經(jīng)營(yíng)宗旨,秉承“專(zhuān)業(yè)細(xì)致 誠(chéng)信經(jīng)營(yíng)”的理念,致力于為客戶(hù)提供優(yōu)質(zhì)的產(chǎn)品及全方位的服務(wù)。
在此我司也誠(chéng)征臺(tái)灣豪澄打刀缸及威馬電動(dòng)堆高機(jī)全國(guó)各地經(jīng)銷(xiāo)商。


廈門(mén)臺(tái)貿(mào)機(jī)械設(shè)備有限公司 閩ICP備2022015515號(hào)-1
技術(shù)支持:廈門(mén)易爾通網(wǎng)絡(luò)科技有限公司 信息支持:東南商機(jī)網(wǎng)